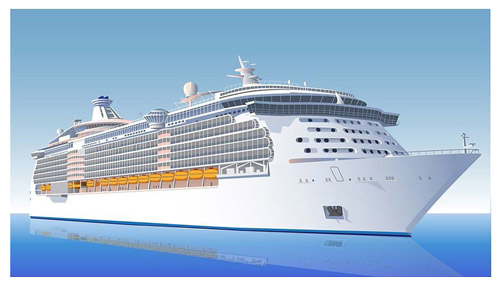
In this tutorial, we will illustrate a “Cruise Ship”. Drawing a “Cruise Ship” falls in the “Structural Illustration” criteria; therefore we will approach our illustration strategy in the way the big structures are built. We will use Adobe illustrator to create the Illustration. This will be compatible to any version above CS4.
Difficulty: Easy
Requirements: Adobe Illustrator
What will you get?
- Instant download of PDF e-book (25 pages, 23 steps)
- Comes with Ai file for easy reference
- Detailed step by step tutorial to draw a nice realistic Cruise Ship
Tutorial Preview:
1. Open an Illustrator document with a 700 pixel width and a 400 pixel height in landscape orientation. Go to the Menu bar and click on Window > Layers to open the Layers panel. With one default layer already open, click the “Create New Layer” button found in the bottom part of this Layers panel for eight (08) times to let a total number of nine (09) layers to exist in the panel.
2. Name the layers from the top to bottom in this order: 1) Roof Top Part 2) Upper Side Part 3) Upper Front Part 4) Middle Side Part 5) Middle Front Part 6) Lower Part 7) Reflection 8) Sky 9) Sea
3. As mentioned in the introduction, we will begin by creating the whole Wireframe. We will draw different parts of the wireframe in different layers. The completed wireframe will look like the image below.
4. Select the “Lower Part” layer in the Layers panel and start drawing in it. Since we will
create the wireframe first, therefore we will only be doing the ‘Outline’ drawing till the
complete wireframe is created. Double click the Stroke in the Tool Bar and choose a
suitable darker colour. We will use the same stroke colour for the total wireframe part.
When you are instructed to choose a different layer for a separate wireframe part, you
will choose a different stroke colour in the same way. Keep that particular colour for
the total wireframe part.
5. We will use the Pen Tool (P), Line Segment Tool (\), Rectangle Tool (M), Ellipse Tool (L), Rounded Rectangle Tool, etc. from the Tool Bar to create the Outline drawings for the wireframe. From time to time, we will also use the Selection Tool (V) & Direct Selection Tool (A) from the Tool Bar to do the outline modification stuff. Follow the step by step images and follow the instructions given within it to complete the Wireframe.
... end of preview. Sign up for premium membership to read the whole tutorial!
