
In the following steps, you will learn how to create a detailed Formula One car illustration using Adobe Illustrator. For beginners, you will learn how to create simple shapes using some basic tools. Then you will learn how to apply linear and radial gradient, and with the help of some basic effects to add shade, depth and highlights for the overall illustration. Finally, reflect them and arrange the copies to create the final artwork. So now let’s begin!
Difficulty: Intermediate
Requirements: Adobe Illustrator
What will you get?
- Instant download of PDF e-book (83 pages, 206 steps)
- Comes with Ai file for easy reference
- Detailed step by step tutorial to draw a nice formula one car vector
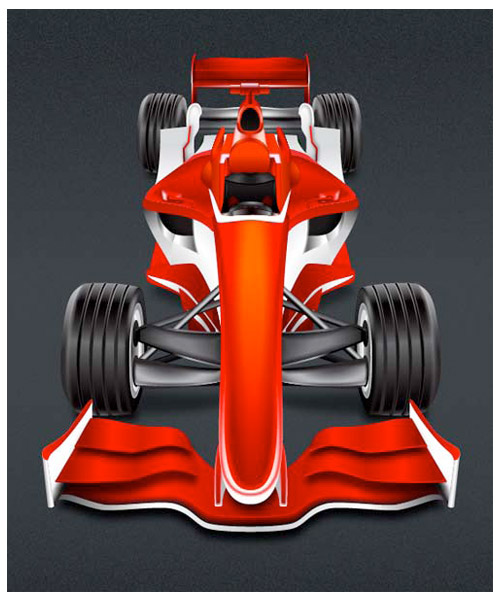
Tutorial Preview:
Create the Shadows for the Car
161. Now we’ll create the shadow for the car. Use the Rectangle Tool (M) to create four objects as shown in the image below.

162. Fill the four objects with R=0, G=0, B=0 and then add the Gaussian Blur Effect to them. Next, send these objects to back (Ctrl +Shift +Left Square Bracket).

163. Continue to create an object as shown in the image below.

164. Fill this object with R=0, G=0, B=0 and then add the Gaussian Blur Effect for it. Next, lower its Opacity to 50%. Finally, send the result to the back.

165. While the newly created object is selected, reflect it and then move the copy to the correct position as shown in the image below.

166. Continue to create an object and then set the data for it as shown in the images below. Finally, send the result to back.

166. Continue to create an object and then set the data for it as shown in the images below. Finally, send the result to back.


... end of preview. Sign up for premium membership to read the whole tutorial!

