

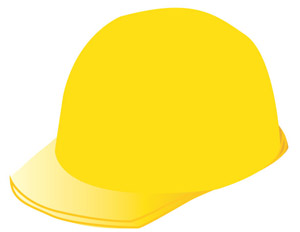
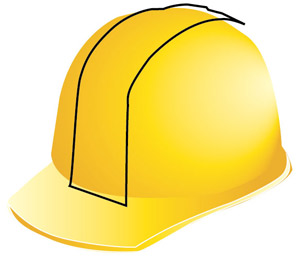
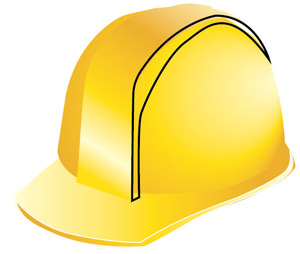
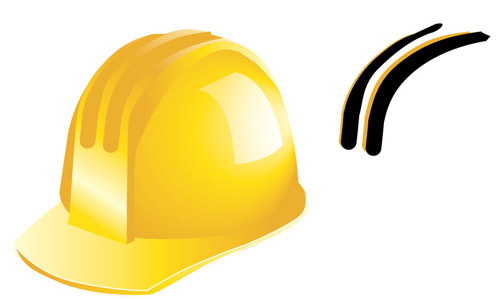
In this tutorial, we will explain how to create an illustration of a safety helmet. The bright yellow color and the shining bill make this tutorial product attractive. This tutorial uses simple techniques in Illustrator . Let’s get started!
1. Draw the helmet’s peak using the Pen Tool from the Tool Box. Edit the nodes using the Direct Selection Tool as shown.
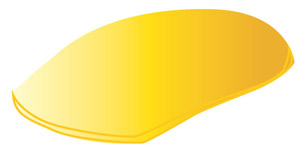
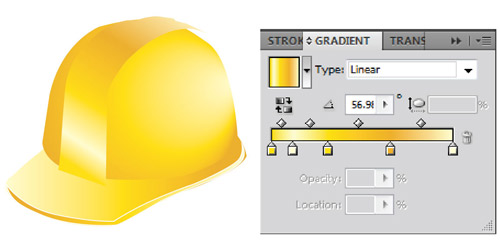
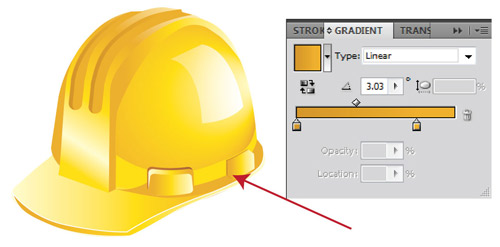
2. Select the appropriate Gradient Color for the bill. To do this, select the object. Go to the Gradient Palette that is located on the right side of Illustrator and open it. Click under the color slider to create a color dam. If you cannot see the Gradient Palette, open it from the Windows menu. Create the appropriate color by double clicking on the color dam. Select the linear mode for painting and use the Gradient Tool to increase accuracy.
3. Draw the peak’s edge using the Pen Tool.
4. Draw the upper part of the safety helmet using the Pen Tool. Fill it in with the appropriate color. To remove its outline, go to the Stroke Palette and set the outline’s thickness=0.
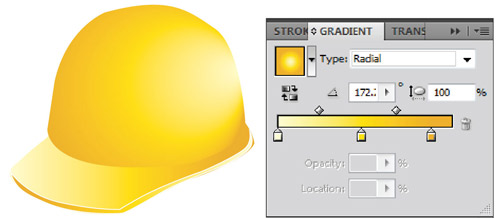
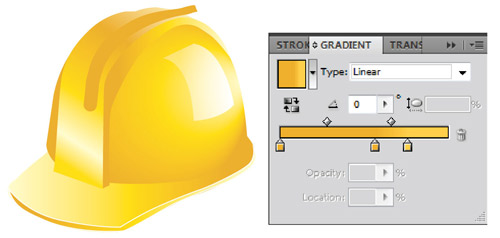
5. Fill the outline of the peak with white. Add an appropriate gradient to it and to the upper part. Use the Radial state for the upper part.
6. Draw the swelling lines of the upper part. It is necessary to have the appropriate distance for the side edge and the two grooves.
7. Fill it with the appropriate gradient.
8. Draw the side edge of swelling line using the Pen Tool. Edit it with the Direct Selection Tool until it is tangent with the edge of swelling part.
9. Fill it with the appropriate gradient as shown. Draw a bright white object on the upper part of the helmet. For some of this shape to be transparent, go to the Gradient Palette and set two Sliders with white. Select one of them and set Opacity=30.

10. Draw a line using the Pen Tool. Increase its thickness as necessary. Select the Round Cap for the ends of the line.

11. Go to Object/Path/Outline Stroke to turn the line into an object. Fill it with the appropriate gradient.
12. To cut some part of the upper line, create an object as scissors.

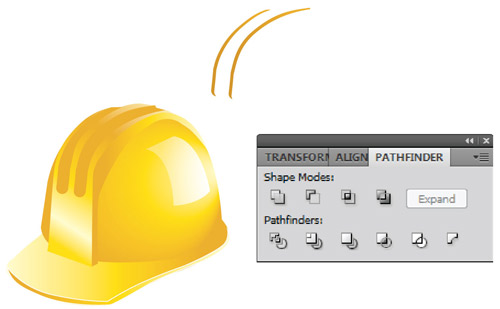
13. To cut the upper line, open Pathfinder from the Windows menu. Holding the Shift key, select the shape and scissors. Click on Minus front.

14. To create other grooves, repeat steps 10-13.

15. Select the grooves. Hold the Alt key and take a copy of the grooves.

16. Move out that copy and take another copy of the grooves. Insert them as shown.
17. Select the upper and bottom shapes. To minimize the upper shape from bottom one, go to Pathfinder/Minus front. This will create a narrow band.
18. Move the narrow band to the grooves and fill them with the appropriate gradient.

19. Draw a shape on the upper part and peak. This shape emphasizes the helmet’s form and creates sharp lighting.
.
20. Draw other object on the peak. This shape creates the appropriate, sharp shadow.

21. Draw a rectangle using the Round Rectangle Tool. Fill it with the appropriate gradient.

22. Copy and place this shape slightly lower. Fill it with the appropriate gradient.

23. Take other copy of the above shape. Place it slightly lower than the previous shape. To alter the color direction, go to Gradient Palette/Reverse.

24. Send the nodes of the upper rectangle inward using the Direct Selection Tool.

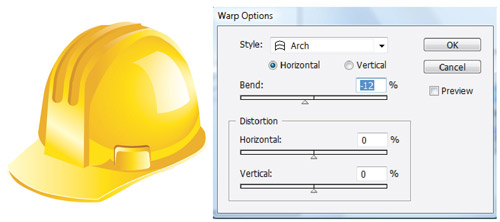
25. Select the above3 rectangles and go to Object/Group. Go to Effect/Warp/Arch. Set the windows and bend the rectangles partly with the setting properties.
26. Draw a smaller shape than the rectangles using the Pen Tool.

27. Fill it with the appropriate gradient.

28. Copy (Ctrl+D) and put the above object under the rectangle (]+Ctrl).
29. Copy the side edge of the helmet. To create a darker edge, draw a shape on it, as shown.

30. To cut the shape, go to Pathfinder Palette/Minus front. Put the remaining band on the edge of the swelling line.

31. Create ventilation holes using Round Rectangle Tool. Paint them with the appropriate gradient..

32. To create a shadow under the helmet, draw a shape the same size as the helmet.

33. Go to Effect/Blur/Gaussian Blur. Position the shadow under the helmet.

34. Draw a smaller shape and fill it with a bright brown color. Go to Effect/Blur/Gaussian Blur and blur as necessary. Put it under the helmet.

35. Draw the safety helmet’s harness using the Pen Tool. Fill it in with black.

36. To create a reflection of the helmet, draw an inverse shape.

37. Fill this shape with a gradient as shown and set one side as Opacity=0.

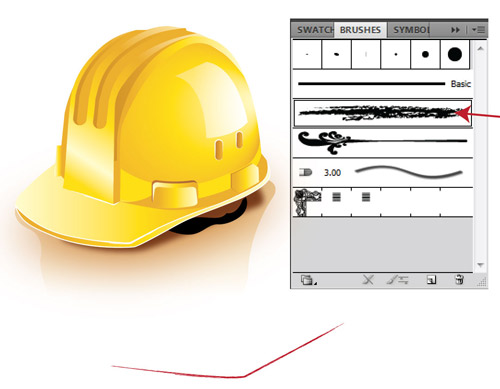
38. To create lighting edges, draw a line using the Pen Tool. Select it and add an appropriate brush from the Brush Pallette. Decrease its thickness as necessary.
39. Repeat the previous step for other parts, if required.

To download the source file for this tutorial, you will need to login as a member.
Sign up today to access all exclusive members content!
