
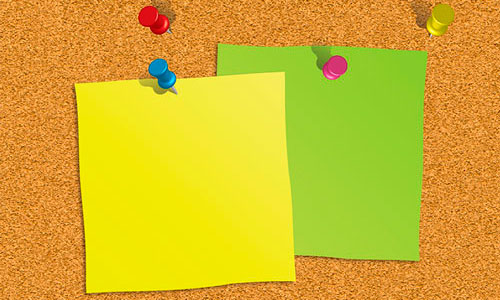
This tutorial will take you through the process of creating a realistic pin board texture from scratch. You will learn interesting techniques on how to create a 3D push pin using the 3D Revolve Tool and how to create sticky notes too using the Warp Tool. We’ll cover on how to apply the shadows and highlights to the push pins. So, let’s get started!
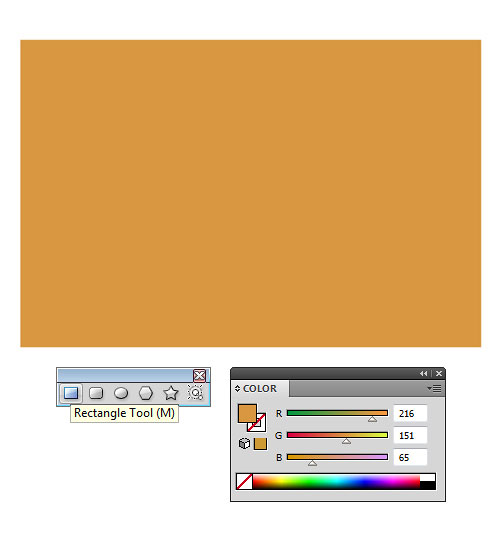
1. Create a new blank document and set the canvas size to 800 x 600px. Select the Rectangle Tool (M) from the Tools Panel on the left and draw a rectangular shape with the following dimensions: width – 700px, height – 470px. Go to Color Panel and set the fill color of the selected object to golden brown (R=216 G= 151 B= 65).
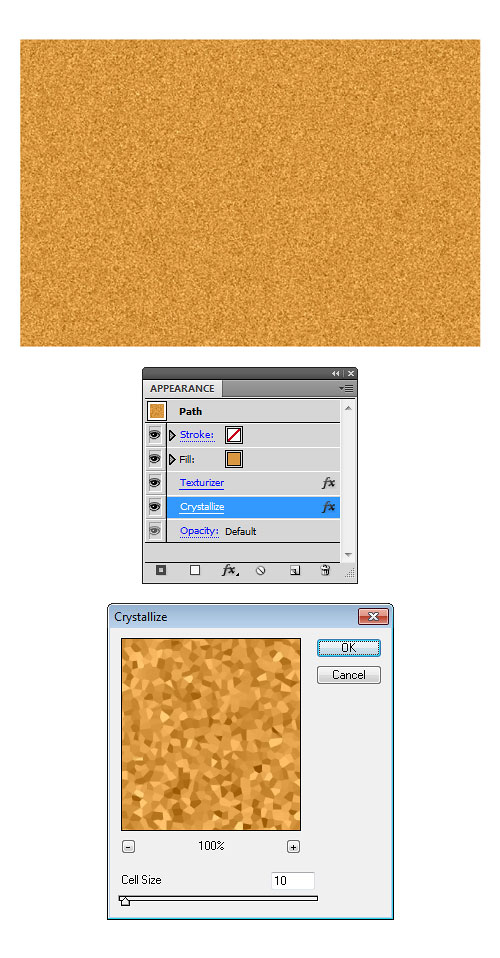
2. Let’s create a pin board background. While the object is still selected, go to Effect > Texture > Texturizer to open a dialog box. In the Texture drop-down menu choose ‘Sandstone’ option. Set the ‘Scaling’ slider to 200 percent and the ‘Relief’ slider to 6. Check ‘Bottom Left’ in the Light section and hit OK.

3. Then, go to Effect > Pixelate > Crystallize… and the dialog box will appear. Move the slider left or right, in order to change the Cell Size. Use a Cell Size setting appropriate for the size of your image (I set the Cell Size to 10) and hit OK.
4. To finish the background texture, go to Effect > Texture > Craquelure…, which brings up another dialog box. Set the ‘Crack Spacing’ at 42, the ‘Crack Depth’ at 7 and the ‘Crack Brightness’ at 6. Now hit OK to apply the effect.

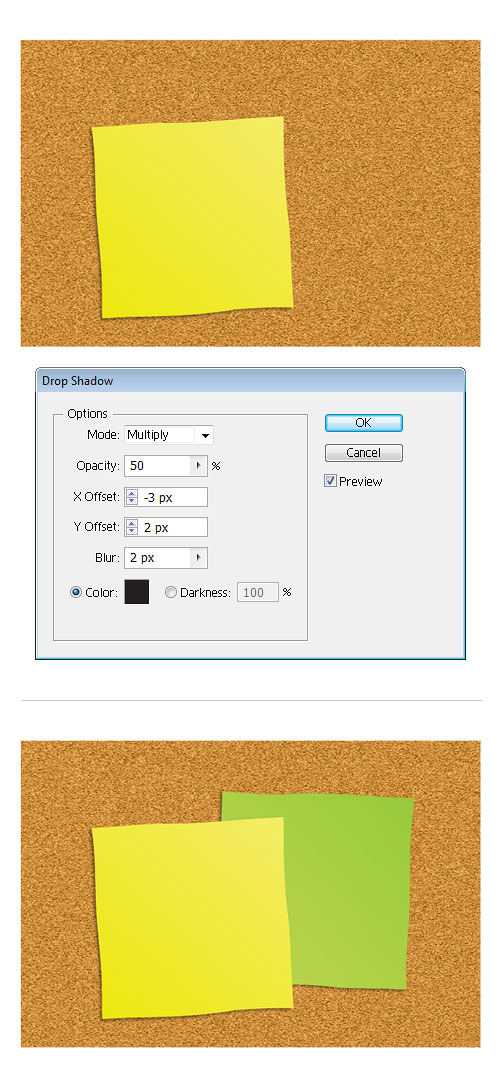
5. It’s time to create a paper note now. Grab the Rectangle Tool (M), draw a rectangle and set the dimensions to about 300 x 300px. Open up the Gradient Panel and fill the resulting shapes with linear gradients, medium yellow (R=237 G=231 B=14) and light yellow (R=243 G=236 B=103), as shown below. Then, double-click on the Warp Tool (Shift+R) from the Tools Panel on the left. When the Warp Tool Options appear, enter the values shown on the image below and click OK. To distort the edges, click and drag the Warp Tool brush over the selected object. The Warp tool tends to distort if used too much, so be careful not to overdo things.

6. Once done, go to Effect > Stylize > Drop Shadow… and enter the values as shown on the image below. Using the same techniques as described before, create another paper note and place it behind the previous one.
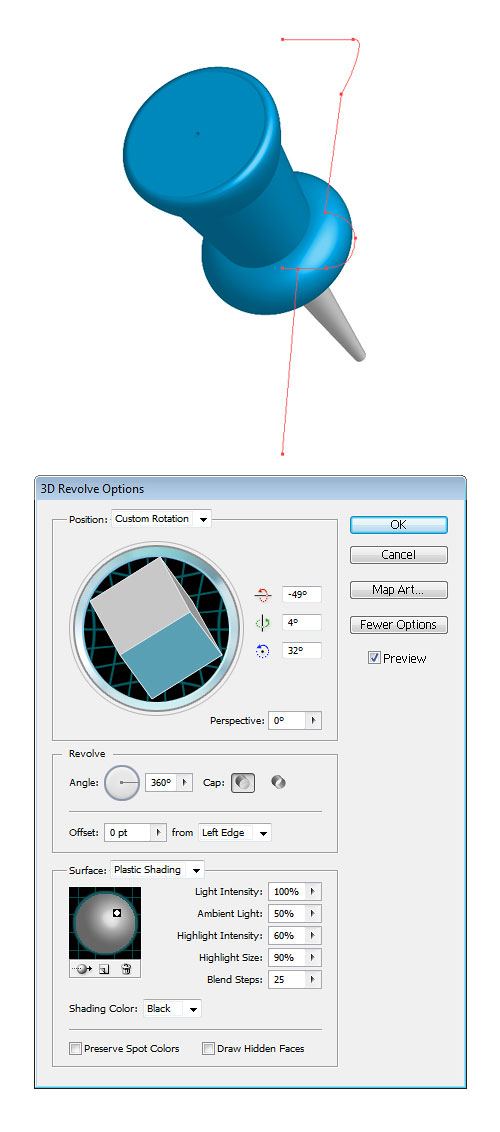
7. Let’s start with our push pin. Drag a vertical guide onto the artboard. Select the Pen Tool (P) and draw two separate open paths one below the other (refer to the image). Apply only a stroke to the objects (fill to none). Set the stroke color of the push pin head to light blue (R=0 G= 173 B= 238). The color of the metal pin should be set to white (R=255 G= 255 B= 255). Note that you can change the colors at anytime later on.

8. Select both objects and group (Ctrl+G) them first. Then, go to Effect > 3D > Revolve… to open the dialog box. In the 3D Revolve Options dialog that pops up, check Preview to see the 3D effect. Specify the following settings: X axis of -49 degrees, Y axis of 4 degrees, Z axis of 32 degrees, and leave the Perspective at 0. Click the More Options button to reveal the controls for lighting the object. You can add more than one light source by clicking the New Light icon and then dragging the light sources into place. You can play around and change the settings if you’d like.
9. Make a copy of our blue push pin and go to Object > Expand Appearance, in order to apply the 3D effect. Once done, keep the objects selected and in the Pathfinder Panel press the Unite button to merge the shapes. Open up the Gradient Panel and fill the resulting shapes with the following linear gradients: black (R=0 G=0 B=0) and black (R=0 G=0 B=0). To finish the push pin shadow, scale it, rotate it, and skew it until you’re satisfied.

10. That’s it! You can create as many push pins as you like. Using the same approach, repeat the process for the rest of the push pins. I hope you’ve enjoyed this tutorial.

View the list of all 101 Illustrator special effects tricks at 101 Illustrator Special Effects.
