

In this tutorial, I’ll show you how to create a quick and enjoying cup of tea with a tea bag using Adobe Illustrator. I’ll mostly be drawing shapes and using the Gradient Tool to accomplish the desired effect. If you’re familiar with Illustrator, you should be able to follow along relatively easily.
Step1
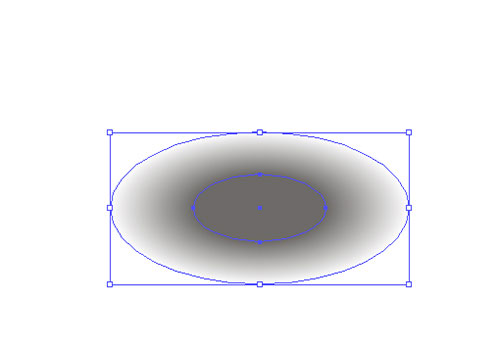
1. Select the Ellipse Tool (L) from the Tool Panel and create two circles. One is white and the other is dark brown.

2. Select the two circles and go to Object> Blend> Make (Alt+Ctrl+B).
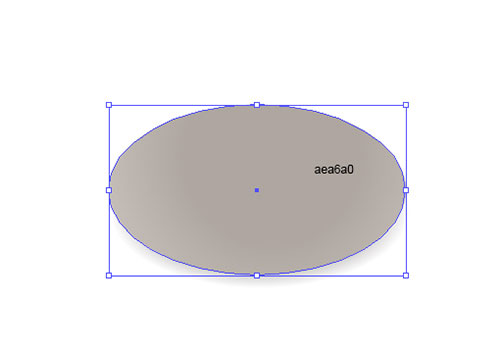
3. Select the Ellipse Tool (L) and create another circle then fill the circle with solid color and paste in front (Ctrl+F).
4. Select the Pen Tool (P) and draw a shape then fill it with white.

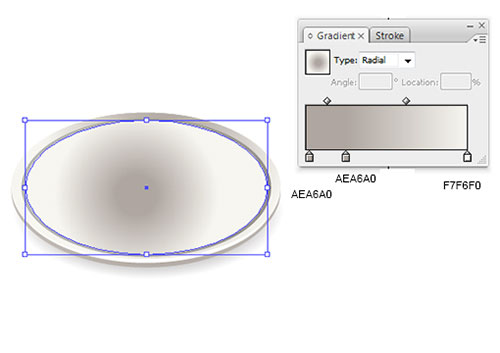
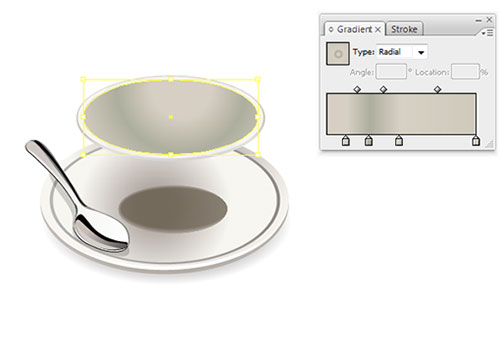
5. Select the Ellipse Tool (L) and create another circle then fill it with Radial Gradient.

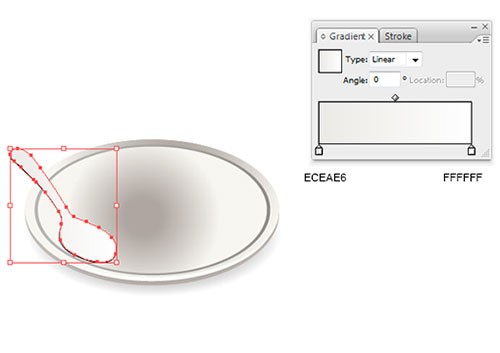
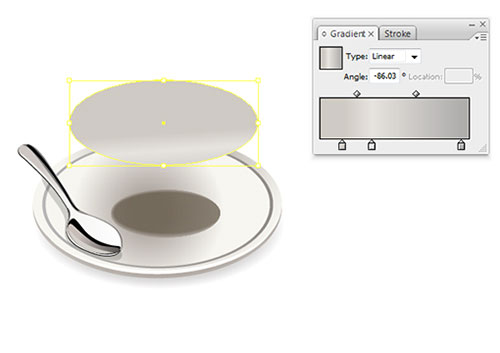
6. Create another circle and fill it with Linear Gradient.

7. Copy the circle and paste it in front. Reduce the size and fill it with Radial Gradient.
Step 2
8. Now in step 2, we will first create a shape using the Pen Tool (P) and fill it with black.
9. Copy the shape and scale it a liitle bit. Paste it in front and fill it with Linear Gradient.
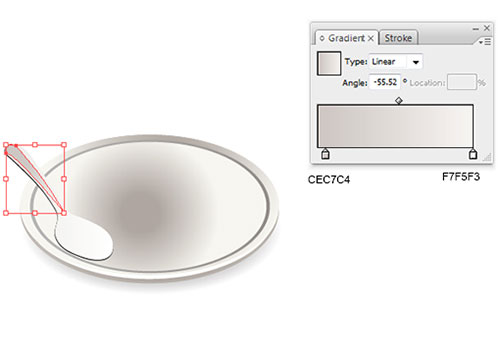
10. Now create a shape using the Pen Tool (P) and fill it with Linear Gradient.
11.

12. Now create a shape using the Pen Tool (P) and fill with Linear Gradient.

13. Create a shape, fill it with black and place it in front.

14. Now create a shape using the Pen Tool (P) and fill it with solid black.

15. Create a new shape and fill it with Linear Gradient color then place it in front.

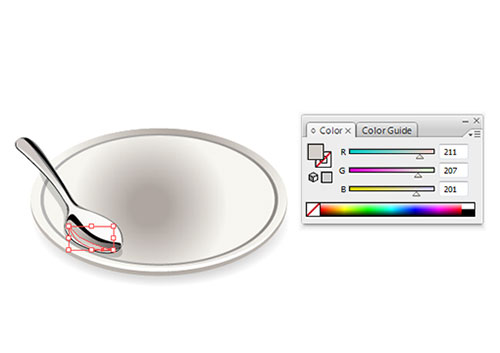
16. Now using the Pen Tool (P), create a shape and fill it with solid color.
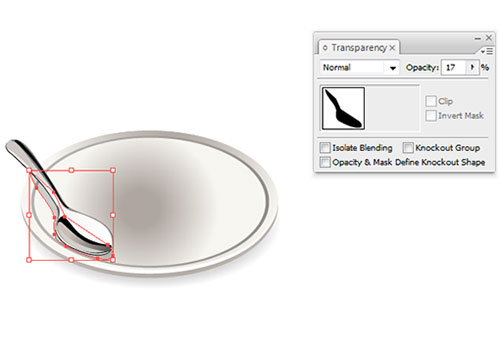
17. Add another shape and fill with black then reduce the opacity to 17%.
Step 3
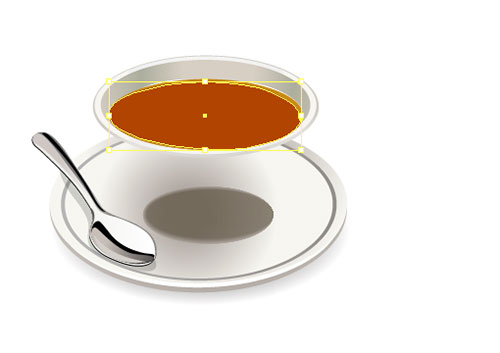
18. Now in step 3, we are using the Ellipse Tool. Create two ellipses, one fill with gradient and the other with solid color.
19. Copy the ellipes and paste them in front (Ctrl+F). Make some adjustment and fill them with Radial Gradient.

20. Copy and paste in front then reduce a little bit. Change the gradient.
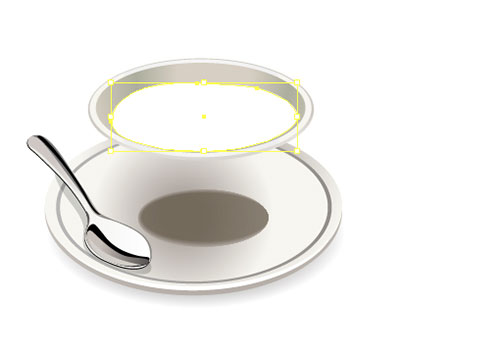
21. Create a shape and fill it with white.
22. Duplicate (Ctrl+C, Ctrl+F) the shape and scale it a liitle bit then fill it with yellow.
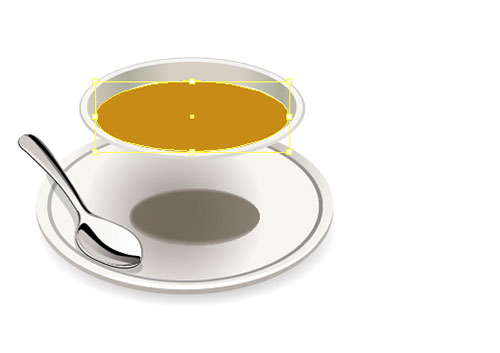
23. Copy and paste in front. Scale it a little bit and change the color to brown.
24. Now create a new shape using the Pen Tool and fill it with Radial Gradient.

25. Take the Pen Tool (P) from the Tool Panel and create the shape as it shown in the picture below. Make sure that endpoints match. You can adjust the position of endpoints by using the Direct Selection Tool (A): Fill the shape using Linear Gradient.

26.

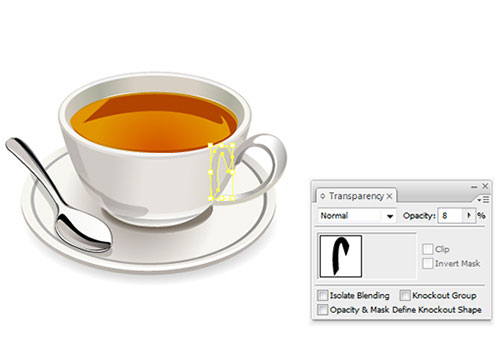
27. Now use the Pen Tool (P) and draw the handle for the cup.
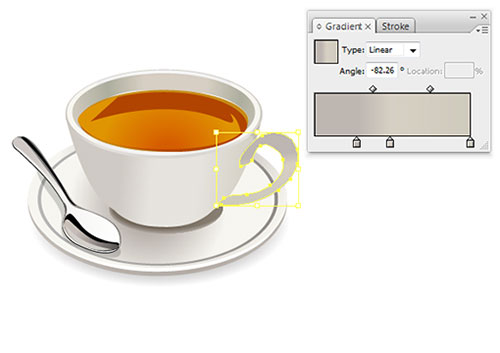
28. Create a shape for the highlighting of the handle and fill the shape with gradient.

29.

30. Create a shape for the highlighting of the handle and fill the shape with white.

31. Copy the shape and paste it in front. Scale it a little bit and fill with Linear Gradient.

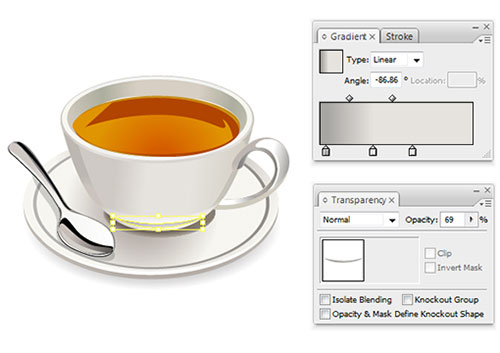
32. Create a shape at the bottom of the cup and fill it with gradient.

33. Create a new shape and fill it with gradient. Change the Blending Mode to Multiply and Opacity to 25%.

34. Create another shape and fill it with gradient. Change the Blending Mode to Multiply and Opacity to 25%.

35.
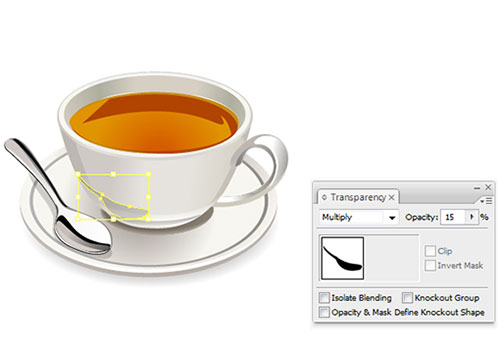
36. Create another shape and fill it with solid black. Change the Blending Mode to Multiply and Opacity to 15%.
37.
38.

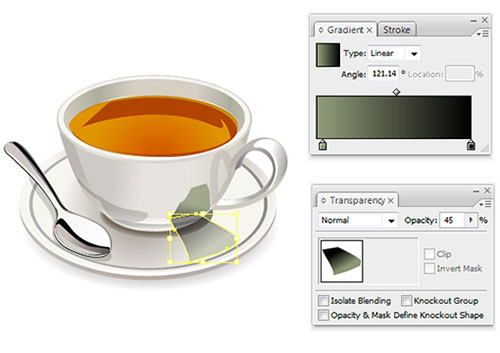
39. Create a new shape using the Pen Tool and fill it with gradient. Reduce the Opacity to 45%.
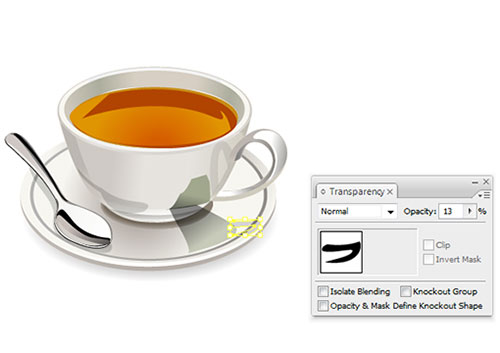
40. Fill the new shape with solid black and reduce the Opacity to 13%.
Step 4
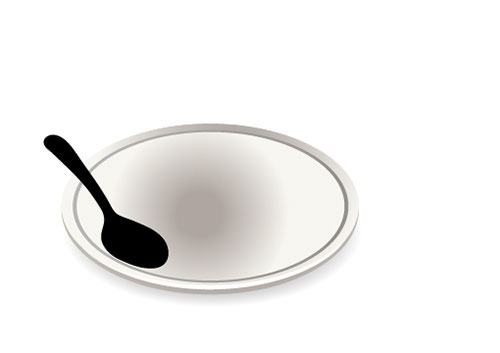
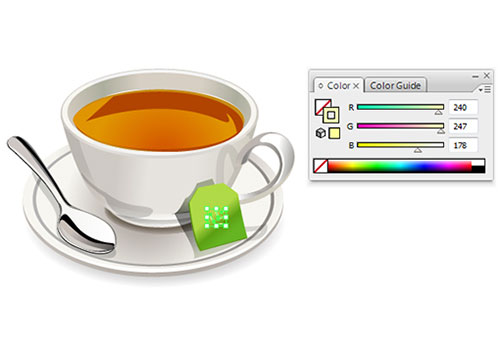
41. Create a new shape for the Tea bag using Pen Tool and fill it with solid color.

42. Copy the shape and paste it in front (Ctrl+F). Scale it a little bit then fill the shape with gradient color.

43. With the help of the Pen Tool, draw some lines using yellow stroke color.
44.

45.

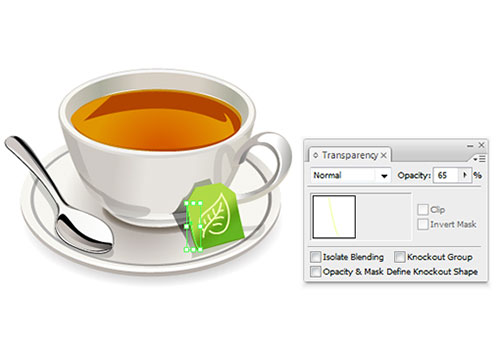
46. With the help of the Pen Tool, draw some lines using yellow stroke color and reduce its Opacity to 65%.
47. Using the Ellipse Tool (L), create a small ellipse and fill it with solid green.

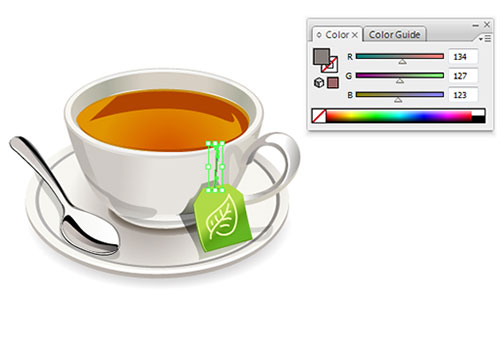
48. Use the Pen Tool to draw a shape and fill it with solid color then paste it in front.
Step 5
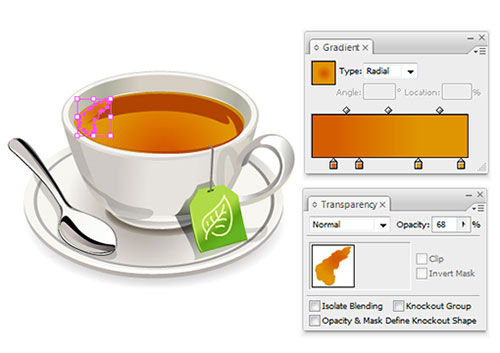
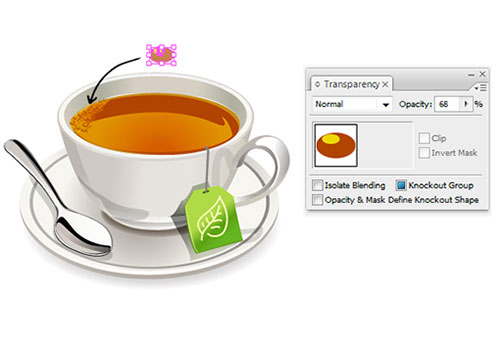
49. Take the Pen Tool (P) from the Tool Panel and create the shape as it is shown in the picture below. Fill the shape with Radial Gradient and reduce the Opacity to 68%.
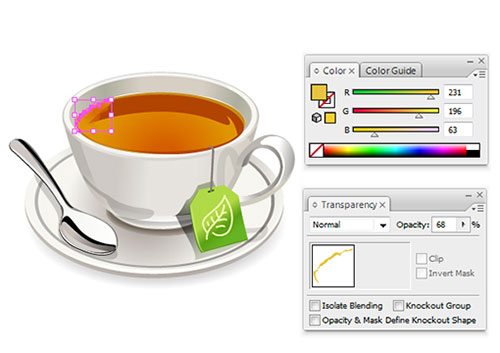
50. Create another shape but this time fill it with solid yellow and reduce the Opacity to 68%.
51 Draw two circles using the the Ellipse Tool (L), one is brown and the other is yellow. Create the shapes as it shown in the picture below. Group the object (Ctrl+G) and reduce the Opacity to 68%. Now press the Alt key and drag it to copy the object then release it to another place for pasting.
Final Output
To download the source file for this tutorial, you will need to login as a member.
Sign up today to access all exclusive members content!
