
If you like working on Illustrator, then today I’m going to teach you a very nice tutorial, which is going to help you a lot in becoming the professional designer. You will learn how to create a Pen and Pencil Organizer using Illustrator. You will also learn to use hidden/special effects present in the illustrator in this tutorial.
So let us begin the tutorial. We will only use the objects that are created in illustrator and will not import any object from outside.
In this tutorial, we will use the objects that are created in illustrator only and will not import any object from outside.
1. First, let us open a new document. To open a new document. go to File > New and a new document will open. As you can see in the image above, we will name the file and then input the sizes of the artboard. Always remember to keep the color mode in the document to RGB, so that the image looks like an original image.

Drawing the Fountain Pen
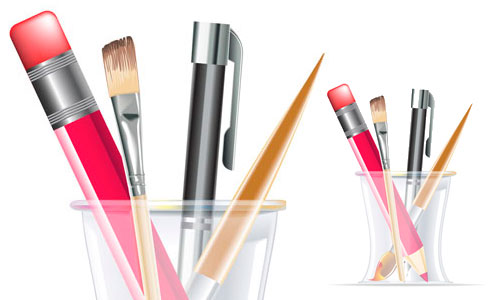
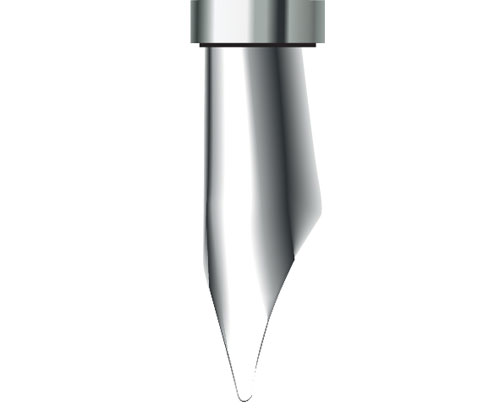
2. In the image, you can see a pen, a pencil and 2 brushes. First, let’s start working on the pen.

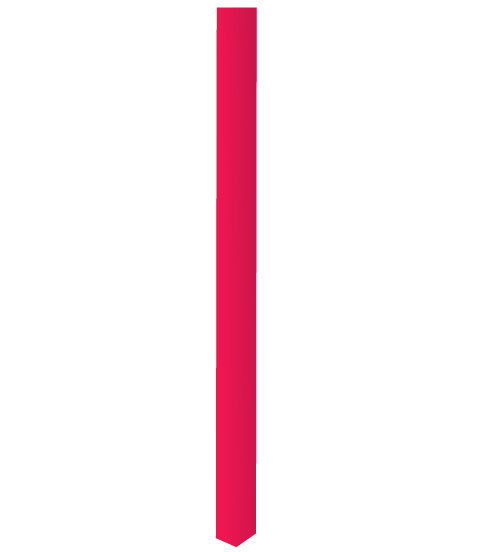
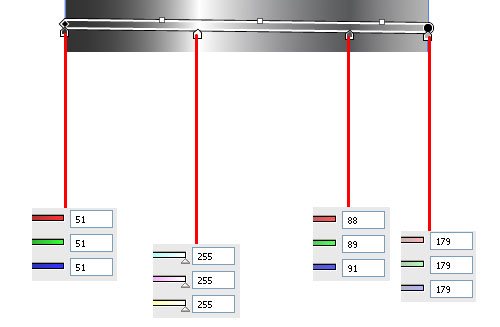
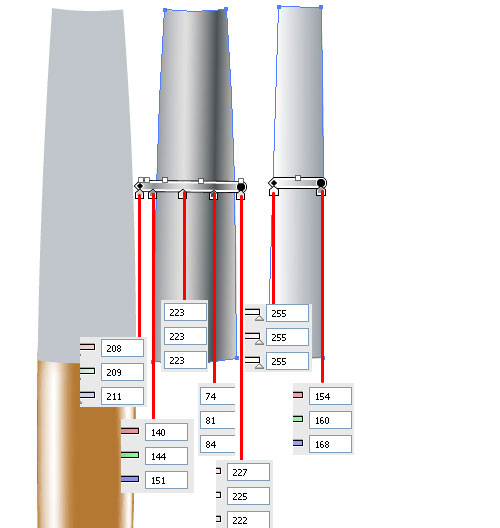
3. This fountain pen is made with the help of gradient, no special effect has been used. To make the pen, first make a box and fill it with gradient color. The value of gradient is shown in the image below.

4. To fill the box with gradient, use the values shown below.

5. Since we have filled the box with gradient, we’ll proceed to making the shape of the handle/cap of a pen along the box, as shown in the image.

6. Fill this shape with gradient color, which will look something like the image below. Note that we should be precise with the value of gradient, as we did while making the top box of the pen.
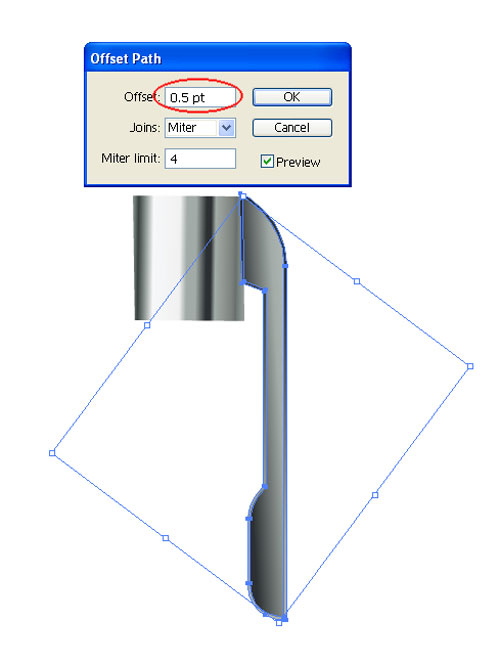
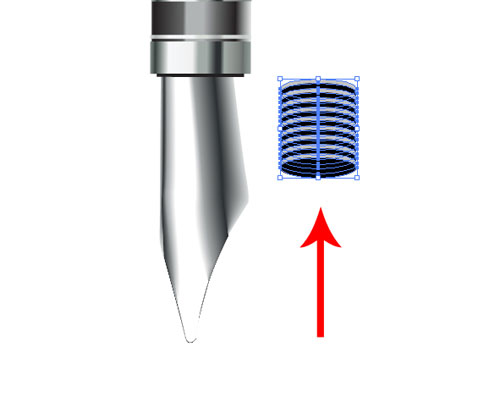
7. Let us give this pen handle/cap a 3D look. To achieve the 3D look, select the handle and go to Object > Path > offset path. A window similar to what is shown here will pop up. In this offset window, select 0.5 pt value and press OK.
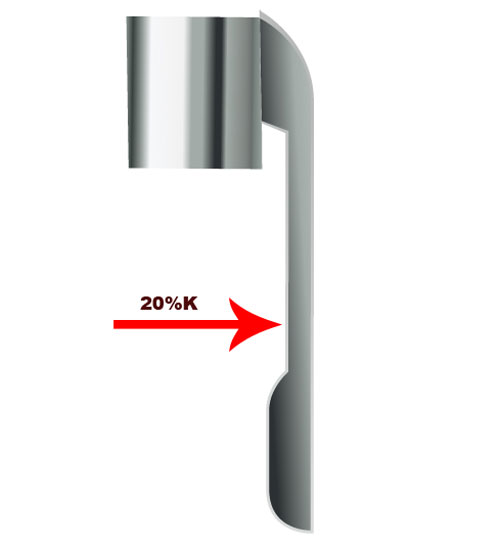
8. By doing so, we’ll get one more shape on the outer side of the pen’s handle. Fill this shape with 20% black.
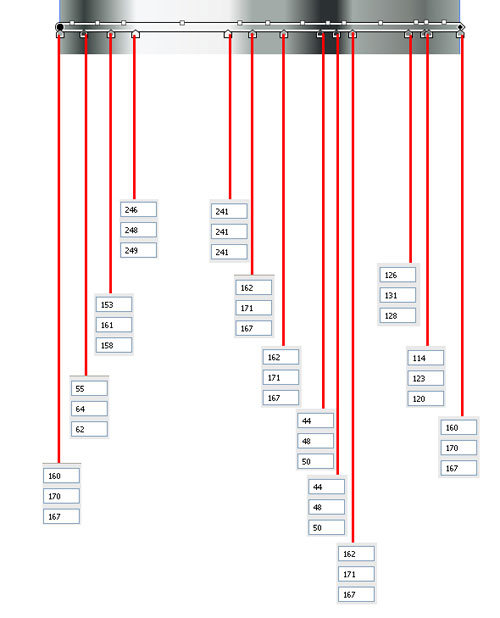
9. Now, select both shapes on the sides of pen’s handle/cap and go to Object > Blend > Blend Option. You will get a window and then put the value mentioned in the image below (red marked).

10. By using the blend effect, our pen’s handle/cap will get a 3D effect.

11. Let’s proceed to the next step and make a shape, which will act as a glow on the handle/cap. Make the shape as shown in the image below.
12. After making the shape, fill it with white color and place it over the handle/cap to achieve the look below.
13. After we are done with the handle/cap, let’s proceed further and make a box below the top part of the pen, as shown in the image.

14. Now, fill this box with the gradient color. The values of the gradient are shown in the image below.

15. Let us then proceed further and make the rest of the pen. Make three boxes and place them over the first box. Fill these boxes with gradient colors with values shown in the image below.
16. After filling the gradient and placing the boxes, our image will look like this.

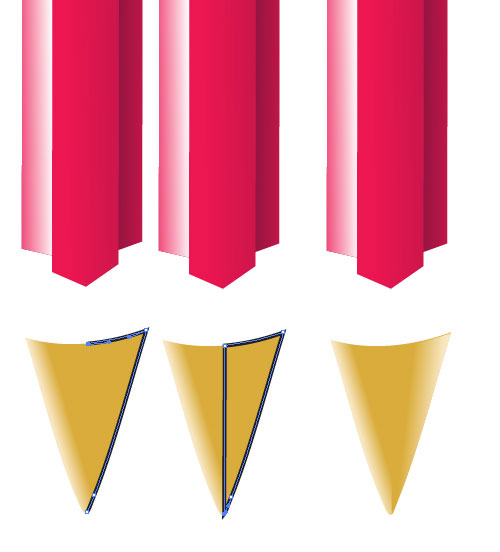
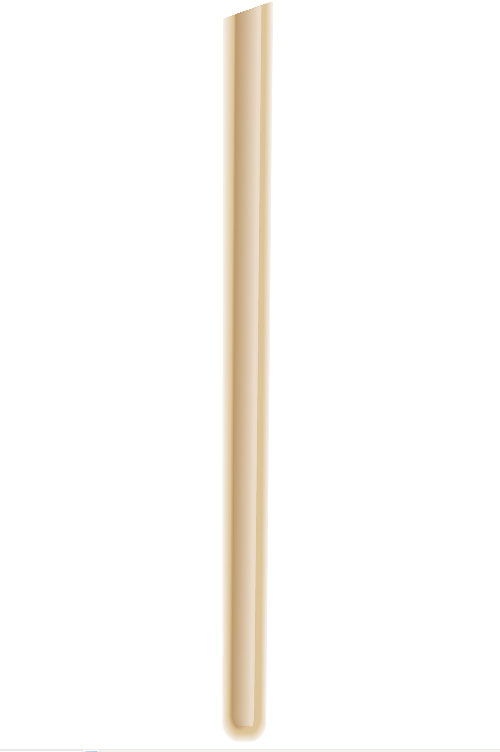
17. Now, we’ll make a pointed shape for the pen. Refer to the image below for the kind of shape to make.
18. We will select all the shapes and align them in center. See the image below.

19. Go to Object > Blend > Blend Option and you will see a window shown in the image below.

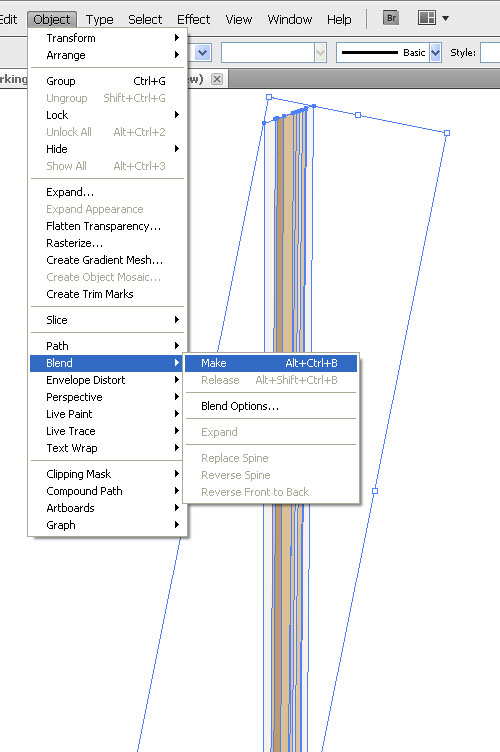
20. Next, choose the option “specified steps” and input the value 50 then press OK. Then, go to Object > Blend > Make so our image will achieve a 3D shape.

21. Now, place the above shape under the pen.

22. After placing the shape, our pen will look something like this.
23. We will then give a better look to the pens’ nib. To give the original feel to the nib, make a circle and fill it with black color. Now, make one more circle above it and fill it with gray color, as shown in the image below.

24. Then, create multiple copies of the 2 circles.
25. Place this circle shape under the nib of the pen and rotate it in a direction by which it fits properly below the nib. See the image below.

26. After the shape is placed, our image will look like this.

27. The illustration of the pen is now done. Now, let’s start making the illustration for the pencil.
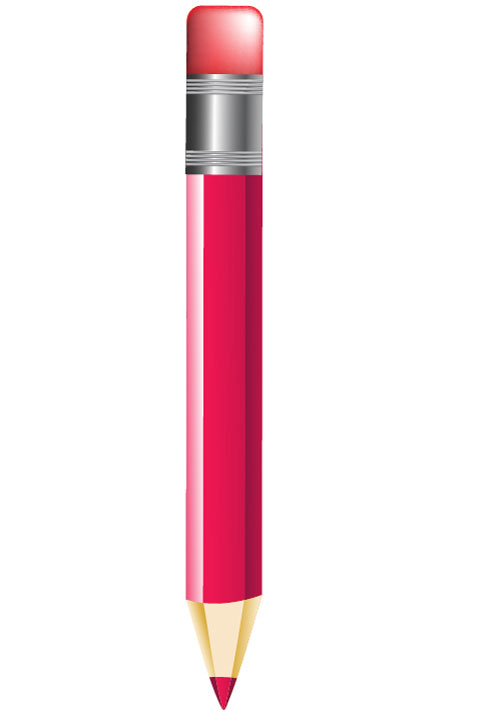
Drawing the Pencil
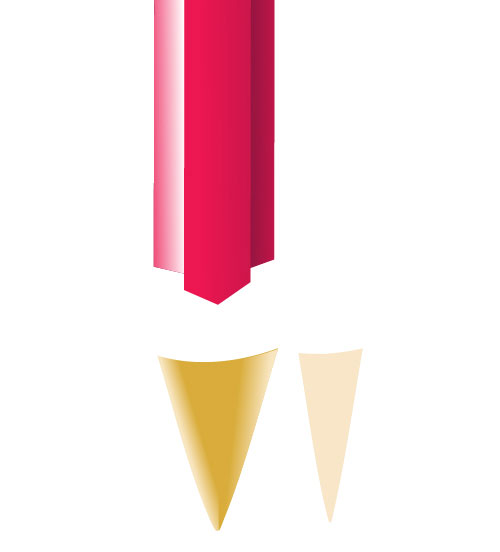
28. We will now begin working on the pencil shown in the image below.

29. First, make a box and fill it with gradient.
30. Now, make a box on either side of box and fill it with the gradient color as shown in the image below.

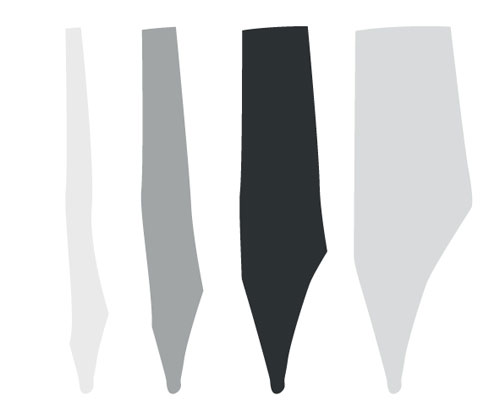
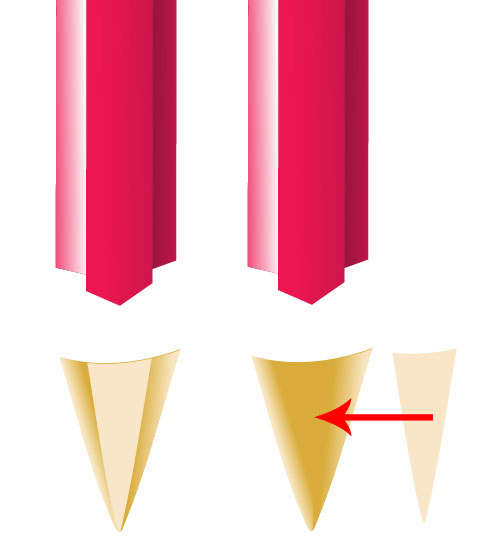
31. Now lets make the sharp nib of the pencil. First, make a shape as shown in the image below.

32. Follow the steps below.
33. Fill this shape with the gradient as done in the earlier step. Then make one more shape, which will be filled with a slightly lighter color to look like this.
34. Place the shape on the pointed nib of the pencil. Our image will look like this after placing the shape.
35. Now that we have made the nib of the pencil, let’s fix it with the pencil now.

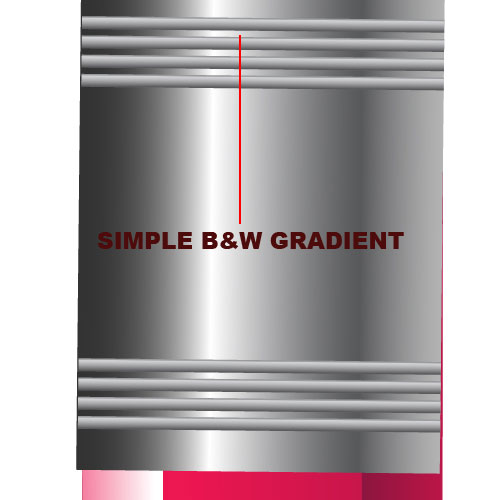
36. Now we’ll make the top part of the pencil. Lets first make the steel part of it. To give the effect of the steel first of all make a box and fill it with gradient color. The value of steel’s gradient color is mentioned in the image below.
38. To give the real effect to the steel, make 4 small-small stripes and fill them with simple B&W gradient as shown in the image below.
39. So now our pencil will look like this.

40. Now lets make the rubber at the top of the pencil. Make a shape and fill it with dark red color as shown in the image.
41. Select the mesh tool and select white color. Now click the upper right corner of the shape with the mesh tool. By doing so the upper corner will be filled with white color.

42. Once the color is filled our pencil is complete and ready. It will look like this.
43. Lets start working on the brush now.
Drawing the Brush
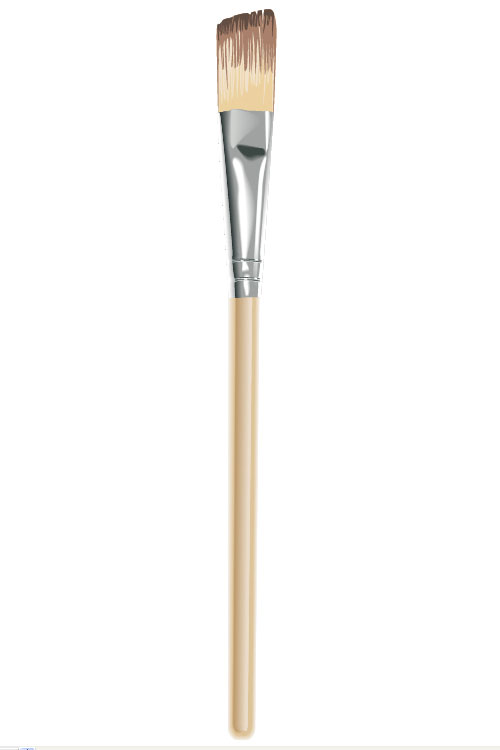
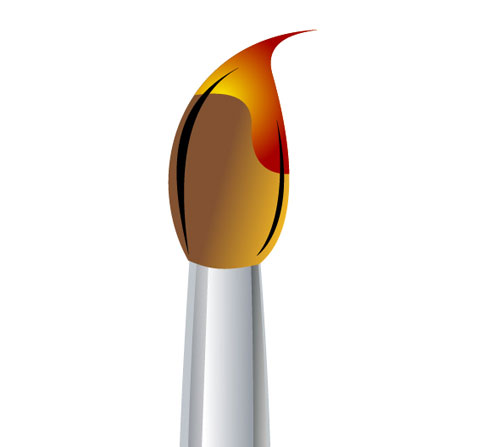
44. Now we’ll work on the brush shown in the image below.

45. To make the brush first of all make some shapes like this and fill them with the colors as shown in the image below.

46. Align the shapes after filling the color. Now the shapes will look this this after alignment

47. Go to Object > blend > Make. By doing this all the shapes will blend and we’ll get a new look as shown in the image below.
48. And the image looks something like this
49. Now we are done with the bottom part of the brush, so lets move towards the upper part of the brush and make a shape something like this.
50. See the steps below
51. Let’s make the hairy part of the brush now. To make this see the shapes given in the image below.

52. Allign these shapes and brush will get a new look.

53. Hence we are done with the brush which will look like this.
Drawing the Brush
54. To make the second brush make a shape like what is shown in the image below.

55. Now select the mesh tool and fill this shape with white color. To fill the color first select the shape and click on the right corner, by doing so the color will automatically be filled in the shape.
56. So the bottom part of our brush is ready. Lets now make the upper part of it. This part will be made in silver effect, so lets first make some shapes which will look like this.

57. Let’s fill these shapes with colors. The base will be a flat color and the next 2 shapes will be filled with gradient color. The value is mentioned below.
58. Now align these shapes. After alignment our shapes will look something like this.

59. The silver effect is done. Lets make the upper part of the brush, to do so let’s make a shape as shown in the image below.

60. Fill these shapes with gradient color. Value is given below.

61. Align these shapes now and it will look like this.
62. Fill the black shapes with the white color.

63. After filling the white shape the brush will look like this, which is the final look.

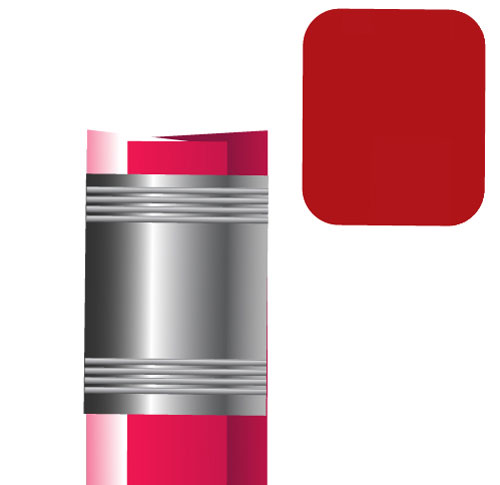
Drawing the Pen Holder
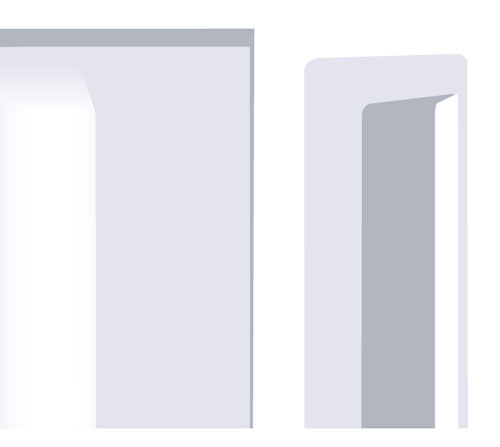
64. Now we will make the holder for all these items.

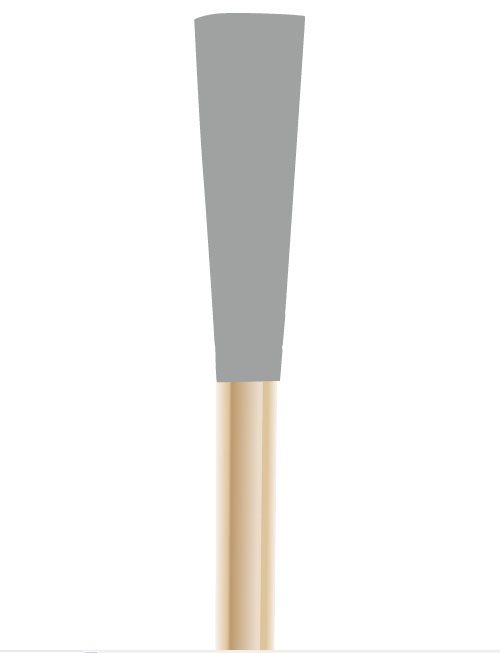
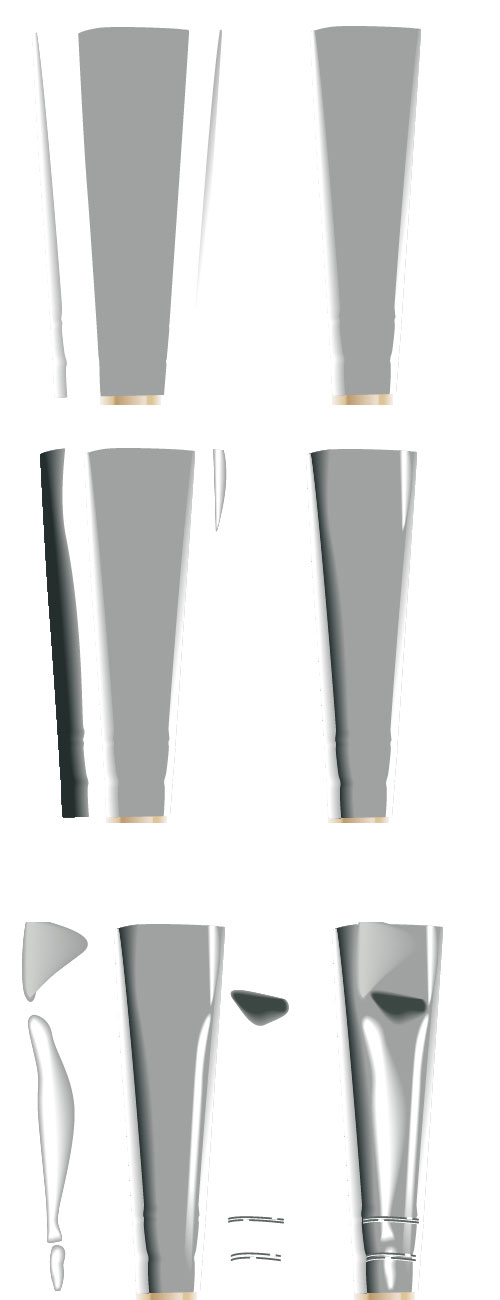
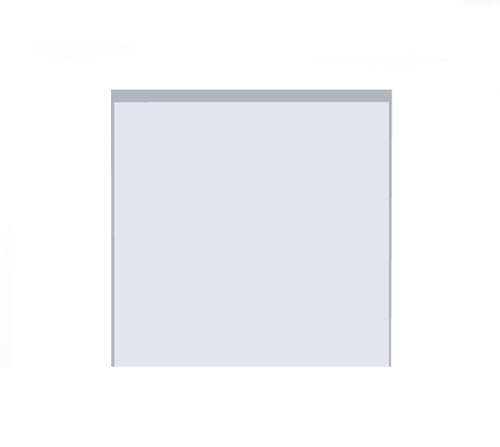
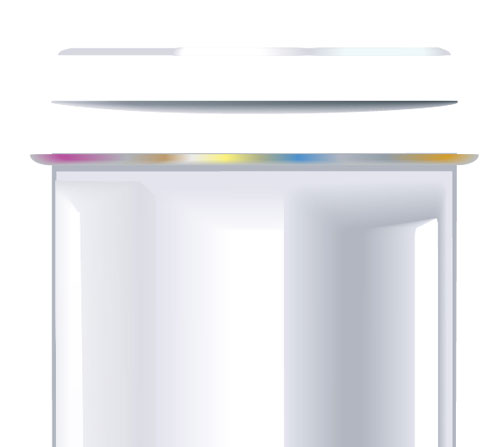
65. To make the holder’s shape, first of all make a box as shown in the image below.
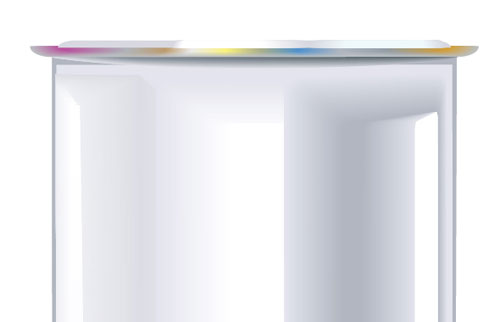
66. Make a shape like this and fill it with color shown here.

67. Blend it after filling the colors. To blend go to Object > Blend > Make.
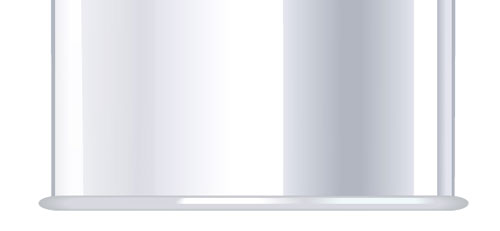
68. No place this blended shape on the left side of the box. See the image below.

69. The image will look like this after placing the shape

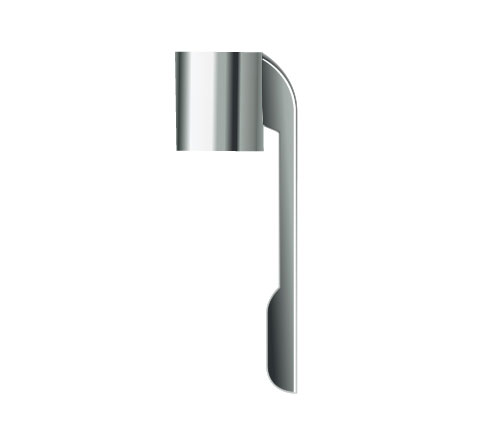
70. Similarly let’s make other shapes and place it over the box.


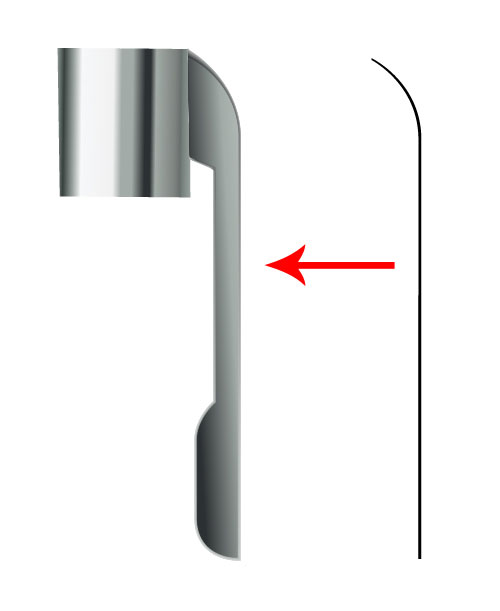
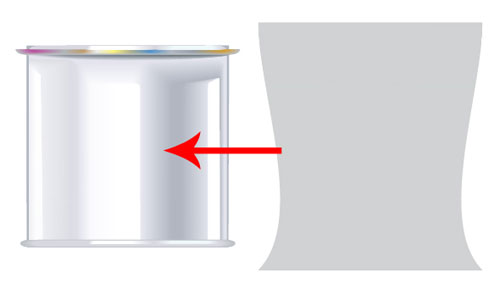
71. Now we are done with the centre part of our box and now we’ll make the upper part and make the glowing shapes. First of all, draw the shape shown below and fill it with gray color. Now make one more shape over that shape and fill it with gradient color. It’s not compulsory to fill this color only which I have used, you can use color of your choice but colors should be more than 6.

72. Blend these shapes and place it over the box which will look like this. Make 2 more shapes and fill them with the colors given below.
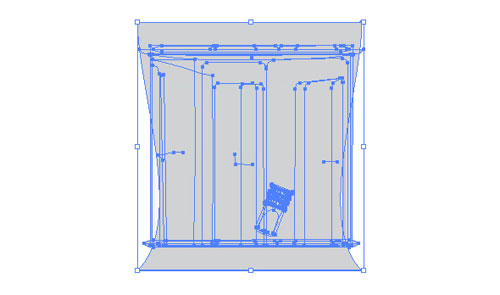
73. Place these 3 shapes on the box
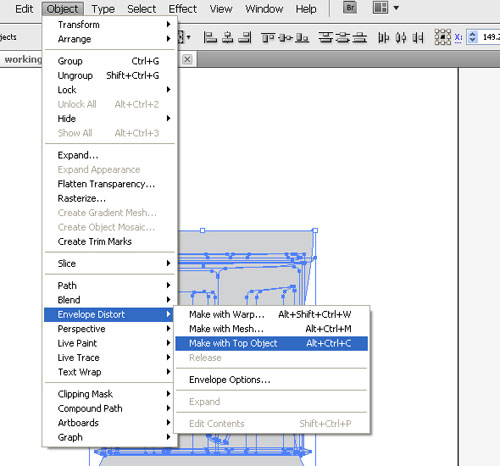
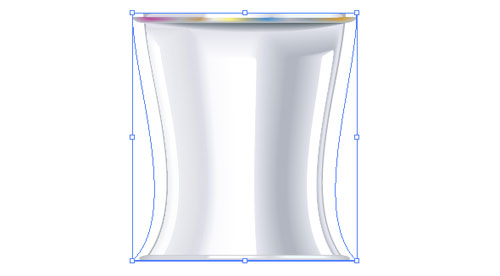
74. Lets move the bottom art of the holder/box and make some shapes and fill them with colors shown here.

75. Place these shapes at the bottom of the box.
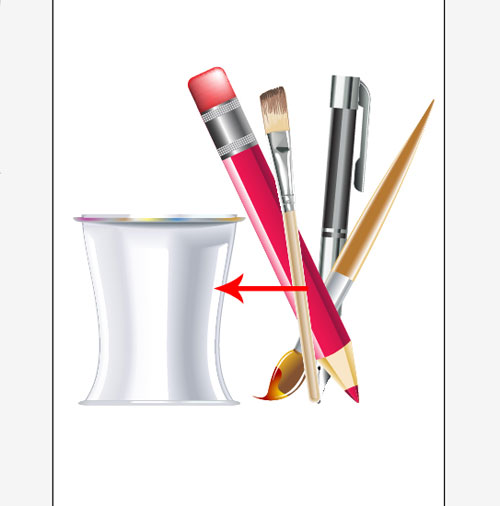
76. After the placement our holder/box will look like this, which is almost done.
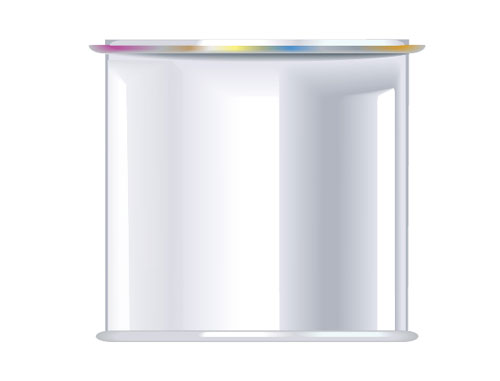
77. Let’s give it an original look. To do so make a shape in which you want to place your box/holder.

78. Place this shape on the box.
79. Select both of them after placing.
80. After selecting go to Object > Envelope Distort > Make with top object, as shown in the image below.
81. After selecting this option both our shapes look different and they will appear something like this.
82. So we are done with the holder and you can place the pen, pencil and brushes behind the holder.
83. After placement image will look like this

84. To make the holder/box transparent, go to window and open transparency box and select 60% opacity. See the image below.

85. So by this way our final holder is ready which can be used for online publishing and printing.
Final Image
86. Here’s our final image at the end of the tutorial.

To download the source file for this tutorial, you will need to login as a member.
Sign up today to access all exclusive members content!
