Difficulty: Intermediate
Requirements: Adobe Illustrator
What will you get?
- Instant download of PDF e-book (36 pages, 34 steps)
- Comes with Ai file for easy reference
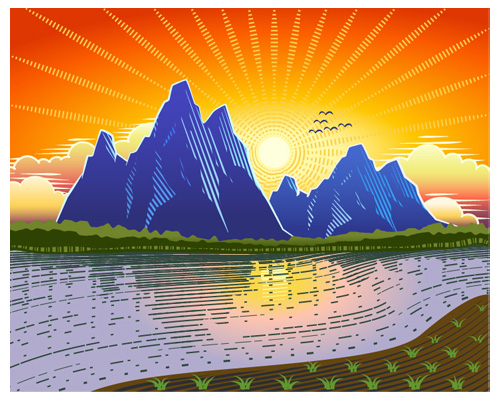
- Detailed step by step tutorial to draw a beautiful sunset landscape
Tutorial Preview:
Create the Sun
16. We're done with the clouds. It's time for the sun now. Pick the Ellipse Tool (L) and create a 46 by 46px ellipse,
then place this ellipse to the position as shown in the first image. Show the Rulers (View > View Rulers > Show Ruler)
or (Ctrl +R). Next drag a horizontal and vertical guide from the Rulers (if the guides locked, go to the View > Guides >
Lock Guides) or (Ctrl +Alt + ;). Now select the ellipse created in this step, hold down the Shift, click on two newly
created guides, release the Shift and then click on the ellipse created in this step again (to fixed its position).
Next open the Align palette (Window > Align), click on the Horizontal Align Center button and then click on the Vertical
Align Center button.

17. Using the Line Segment Tool (\) create a vertical line of length 430px, with a black stroke and no fill,
then place this line to the correct position as shown in the first image. Reselect the newly created line, pick the
Rotate Tool (R), hold down the Alt and click on the intersection point of the two guides created in the step 16.
In the Rotate dialog box, enter a 10 degrees Angle and click Copy, then keep hitting (Ctrl-D) until you get the
results as shown in the third image.


18. Pick the Scissors Tool (C) and click on the points highlighted with green of some upper lines created in the step 17.
You'll see that you've cut these lines into two parts. Select and delete lines outside of your background shape.
Likewise, repeat the same process for the remaining lines. In the end your artwork should look like the last image shown.


19. Select all lines created in the step 18 and replace the existing stroke color of them with R=251,
G=207, B=76. Then open the Stroke palette (Window > Stroke) and set the values like you see in the first image.
Next reselect the blue ellipse created in the step 16 and fill it with R=255, G=255, B=220, then remove the stroke of it.
Now select and group (Ctrl + G) all objects created from beginning step 16 to this time, then hide the newly created group
behind the clouds. Finally draw a flock of flying birds like you see in the last image.


Create the River
20. It's time to draw the river. With the Rectangle Tool (M) create a 723 by 224px rectangle and then place it to the
position as shown in the first image. Fill the newly created rectangle with the radial gradient like you see in the second
image and then hide the resulting shape behind the forest group created in the step 11.
Finally create a shape (R=99, G=69, B=17) using the Pen Tool (P) like in the last image.


21. Continue with the Pen Tool (P) create two curved paths and give them a 2px red stroke for the moment.
Reselect these two paths and create a blend between them. Make sure that the blended object is still selected
and go to the Object > Blend > Expand. Now pick the Selection Tool (V) and double-click on the newly created group.
Next select the curved paths, drag them up and place them as shown in the third image. Finally, double-click on the
anywhere outside of the group just edited.


22. Pick the Pencil Tool (N) and create an object as shown below. Next select the red group created in the step 21
and make a copy (Ctrl +C, Ctrl +F) of it, then replace the existing stroke color of the copy with R=47, G=72, B=61.
Make sure that the new group is still selected, hold down the Shift and click on the turquoise object created in this step,
then go to the Object > Clipping Mask > Make (Ctrl +7). The newly created clipping set should look like the last image below.


... end of preview. Sign up for premium membership to read the whole tutorial!