
In this tutorial, we will explain how to illustrate a photorealistic apple. An apple is an attractive fruit because it has bright and luscious colors. To create the beautiful and complex textures of the apple, it will take a considerable amount of time. But don’t worry, because we will attempt to at least simplify this tutorial for you. Let us get started!
Difficulty: Easy
Requirements: Adobe Illustrator
What will you get?
- Instant download of PDF e-book (14 pages, 37 steps)
- Comes with Ai file for easy reference
- Detailed step by step tutorial to draw a nice photorealistic apple
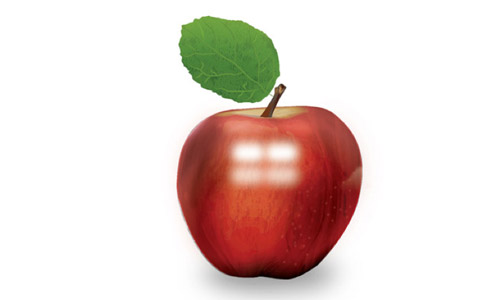
Tutorial Preview:
15. Select the shapes which were drawn in the last step. To blur them, go to Effect > Blur > Gaussian Blur and blur them as necessary.

16. Add some blobs using the Blur Tool (used in step 14) but don’t blur them. Draw a black shape using the Pen Tool, blur and put it on the appropriate position.

17. Select the shape of the apple and make a copy of it ( Ctrl+D). Go to Transparency Palette and set its blending on the Multiply.

18. To create more brightness, draw some shapes on the apple. Make them bright yellow, then go to Transparency Palette and set on the Soft Light. Set Opacity=50.

19. Create a texture on the apple using the chalk brush from brush palette. After drawing some lines, set them in the transparency palette as shown in the image below.

20. Fill the stem with brown.

21. Create some nodes on the stem using the Mesh Tool and fill them with brighter colors.

... end of preview. Sign up for premium membership to read the whole tutorial!


Comments are closed.